Redis
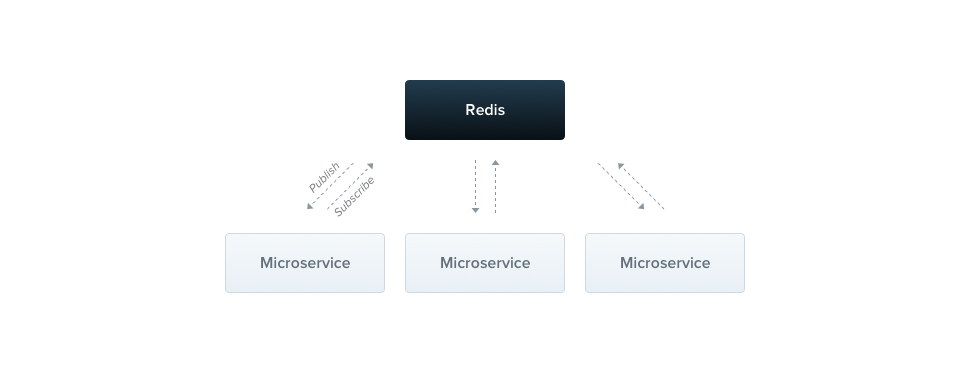
The Redis transporter implements the publish/subscribe messaging paradigm and leverages the Pub/Sub feature of Redis. Published messages are categorized in channels, without knowing what subscribers (if any) will eventually receive the message. Each microservice can subscribe to any number of channels. In addition, more than one channel can be subscribed to at a time. Messages exchanged through channels are fire-and-forget, which means that if a message is published and there are no subscribers interested in it, the message is removed and cannot be recovered. Thus, you don't have a guarantee that either messages or events will be handled by at least one service. A single message can be subscribed to (and received) by multiple subscribers.
Installation
To start building Redis-based microservices, first install the required package:
$ npm i --save ioredis
Overview
To use the Redis transporter, pass the following options object to the createMicroservice() method:
@@filename(main)
const app = await NestFactory.createMicroservice<MicroserviceOptions>(AppModule, {
  transport: Transport.REDIS,
  options: {
    host: 'localhost',
    port: 6379,
  },
});
@@switch
const app = await NestFactory.createMicroservice(AppModule, {
  transport: Transport.REDIS,
  options: {
    host: 'localhost',
    port: 6379,
  },
});
info Hint The
Transportenum is imported from the@nestjs/microservicespackage.
Options
The options property is specific to the chosen transporter. The Redis transporter exposes the properties described below.
host | Connection url |
port | Connection port |
retryAttempts | Number of times to retry message (default: 0) |
retryDelay | Delay between message retry attempts (ms) (default: 0) |
wildcards | Enables Redis wildcard subscriptions, instructing transporter to use psubscribe/pmessage under the hood. (default: false) |
All the properties supported by the official ioredis client are also supported by this transporter.
Client
Like other microservice transporters, you have several options for creating a Redis ClientProxy instance.
One method for creating an instance is to use the ClientsModule. To create a client instance with the ClientsModule, import it and use the register() method to pass an options object with the same properties shown above in the createMicroservice() method, as well as a name property to be used as the injection token. Read more about ClientsModule here.
@Module({
  imports: [
    ClientsModule.register([
      {
        name: 'MATH_SERVICE',
        transport: Transport.REDIS,
        options: {
          host: 'localhost',
          port: 6379,
        }
      },
    ]),
  ]
  ...
})
Other options to create a client (either ClientProxyFactory or @Client()) can be used as well. You can read about them here.
Context
In more sophisticated scenarios, you may want to access more information about the incoming request. When using the Redis transporter, you can access the RedisContext object.
@@filename()
@MessagePattern('notifications')
getNotifications(@Payload() data: number[], @Ctx() context: RedisContext) {
  console.log(`Channel: ${context.getChannel()}`);
}
@@switch
@Bind(Payload(), Ctx())
@MessagePattern('notifications')
getNotifications(data, context) {
  console.log(`Channel: ${context.getChannel()}`);
}
info Hint
@Payload(),@Ctx()andRedisContextare imported from the@nestjs/microservicespackage.